


You just got your ears pierced, and now you’re paranoid about every little thing. Is that redness normal? Should it still hurt on day three? Here’s the truth: most piercing complications happen because people wing their aftercare routine instead of following a proper timeline.
We’re breaking down exactly what happens to your piercing each week—and what you need to do about it.
What You’ll Learn:
- Week-by-week healing stages and what’s actually normal
- The exact cleaning routine that prevents infection
- Red flags that mean you need help ASAP
- Products that speed up healing (and ones that wreck it)
- When you can finally switch your jewelry
- Common mistakes that restart your healing clock
At Loyal 2 The Coil, our piercers like Mikaila and Casey have perfected the aftercare process through thousands of successful piercings. We’re talking two locations in Fort Myers, open 7 days a week, where aftercare isn’t just an afterthought—it’s half the art.
Week-by-Week Healing Stages and What’s Actually Normal
Follow this weekly earlobe piercing aftercare routine:
Week 1: The Fresh Wound Phase
Your earlobe is basically an open wound right now. You’ll see redness, slight swelling, and maybe some clear or pale yellow discharge. That’s normal. Your body’s sending white blood cells to start the healing party.
What’s not normal? Excessive heat, dark yellow or green pus, or pain that gets worse instead of better.
Week 2-3: The Calming Period
The angry red color starts fading. You might notice some crusties forming around the jewelry—these are dried lymph fluid, not infection. Think of them as your body’s natural Band-Aid.
Pro tip: Never pick at the crust. Let warm water soften it during cleaning.
Week 4-6: The Deceptive Phase
Here’s where people mess up. Your piercing looks healed on the outside, but the internal channel (we call it a fistula) is still fragile. Like a broken bone that feels fine but isn’t fully knitted yet.
At Loyal 2 The Coil, artists like Cristen see tons of week-5 disasters because someone thought they were good to go. Spoiler: you’re not. Keep that original jewelry in and stick to your cleaning routine.
The Exact Cleaning Routine That Prevents Infection
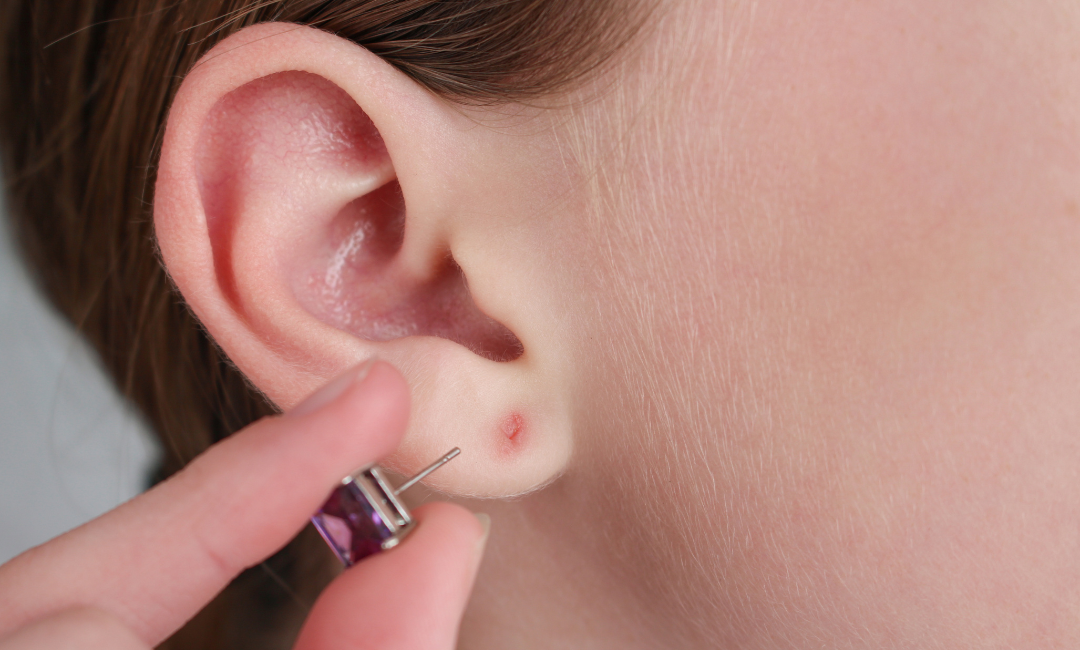
Your fresh piercing needs consistent care, not complicated rituals. The right routine makes the difference between smooth healing and weeks of complications.
The Golden Rule: Timing Beats Everything
Clean your new piercing twice daily—morning and night. Any more strips away good bacteria. Any less lets the bad stuff party.
Always wash your hands first. We’re talking 20-second scrub with antibacterial soap, not a quick rinse. Your piercing studio should’ve drilled this into you, but here’s what actually works:
The 3-Step Process:
- Soak with saline solution (¼ teaspoon sea salt in 8oz warm water)
- Rotate the jewelry gently while wet—this prevents the healing wound from fusing to the metal
- Pat dry with disposable paper towels (never cloth towels)
Unlike cartilage piercings that need extra TLC, earlobe piercings are more forgiving. But don’t get cocky.
The Cotton Swab Method
Here’s a pro move: use a cotton swab soaked in saline to clean behind the piercing. The ear canal area collects gunk you can’t see. Gentle soap works too, but rinse thoroughly—soap residue is asking for trouble.
Skip the disposable gloves unless you’re helping someone else. Clean hands work fine for your own piercing.
Red Flags That Mean You Need Help ASAP
Not every problem means infection, but certain symptoms demand immediate attention. Knowing the difference between normal healing and actual danger saves you from both panic and real complications.
The “Oh Crap” Signs
Within 48 Hours:
- Excessive bleeding that won’t stop
- Jewelry embedded into the skin
- Signs of allergic reaction (intense itching, rash spreading beyond the pierced area)
After Initial Healing:
- Dark yellow or green discharge (not the clear stuff from your initial piercing)
- Red streaks extending from the piercing
- Fever or chills (infected blood is entering your system)
- Swelling that gets worse after day 3
The Sneaky Problems
Some issues creep up slowly. If your piercing hurts more at week 3 than week 1, something’s wrong. The same goes for heat—your ear shouldn’t feel like a tiny furnace.
Body piercings follow predictable patterns. When yours goes rogue, don’t wait. Professional tattoo shops have seen it all and can spot trouble before it escalates.
Products That Speed Up Healing (And Ones That Wreck It)
The healing process isn’t just about what you do—it’s about what you don’t do. Some products actively sabotage your progress, while others genuinely help piercings heal faster.
Your Healing Arsenal
The MVPs:
- Sterile saline spray: Your piercing’s best friend (aim for 0.9% sodium chloride)
- Tea tree oil (diluted): Natural antimicrobial that actually works
- Vitamin E oil: After week 6 only—helps minimize scarring
The Surprising Helper: Zinc supplements can cut healing time. Studies show proper zinc levels help you avoid infection and reach the fully healed stage 30% faster.
The Absolute No-Go List
These products will sabotage proper healing:
Never Use:
- Hydrogen peroxide (kills healthy tissue along with bacteria)
- Rubbing alcohol (dries out the pierced area)
- Neosporin or heavy ointments (trap bacteria inside)
- Claire’s ear care solution (if piercing guns were involved, that’s already strike one)
Lifestyle Bombs: Skip hot tubs for 8 weeks minimum. Chlorine plus an open wound equals disaster. Same with wearing headphones over a fresh piercing—the pressure and bacteria create problems. Even your tragus piercing needs airflow, not constant contact.
At Loyal 2 The Coil, we use piercing needles exclusively because proper technique determines how well you heal. Our Fort Myers team sees the aftermath of mall piercings weekly—there’s a visible difference between professionally done work and whatever piercing guns accomplish.
When You Can Finally Switch Your Jewelry
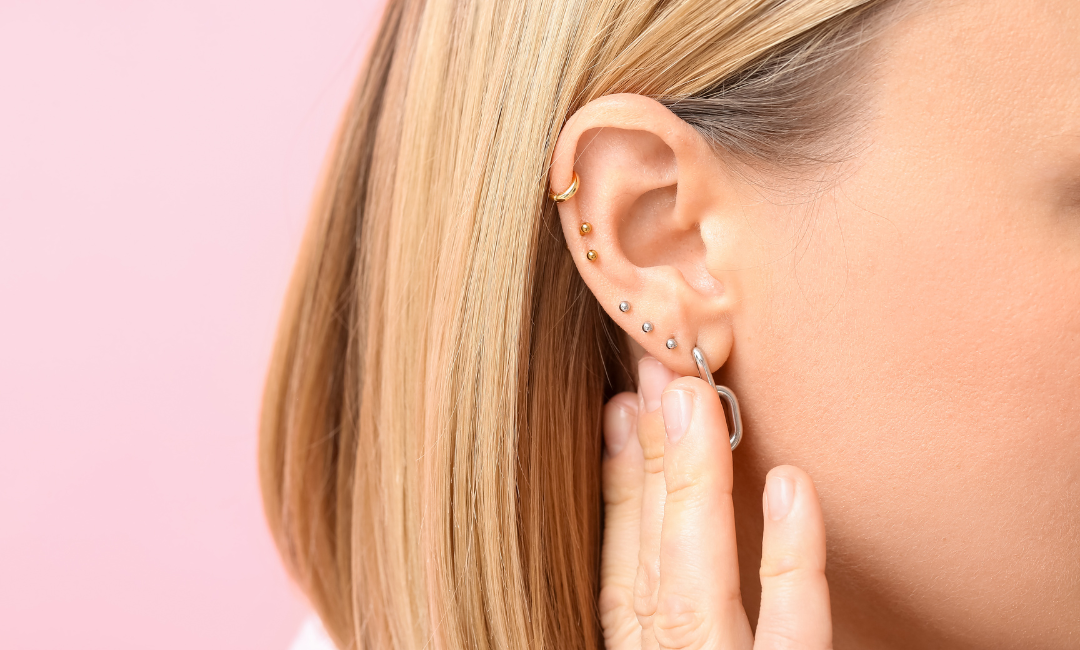
The urge to swap out your starter studs hits around week 3. Resist it. Your piercing needs about six weeks minimum before you even think about new jewelry.
The Timeline Truth
- Week 6-8: Your piercing looks healed, but it isn’t. Professional piercers recommend waiting until week 8 for basic switches. Even then, stick to hypoallergenic jewelry only.
- Week 12: Now we’re talking. Your piercing heals properly by this point, and you can explore your personal style. Start with lightweight options—heavy earrings still stress the tissue.
The Safe Switch Method:
- Clean both the new jewelry and your hands
- Apply a tiny bit of fragrance-free soap to the post (acts like lube)
- Switch quickly to minimize air exposure
- Never force it—if there’s resistance, you’re not ready
Your pain tolerance doesn’t matter here. Switching too early causes micro-tears that restart everything.
Material Matters More Than You Think
Hypoallergenic materials aren’t just marketing buzz. Your first switch should be:
- Surgical steel
- Titanium
- 14k gold or higher
- Sterling silver (only after full healing)
Skip the cute $5 earrings from Target. Your experienced piercer didn’t use quality needles just for you to shove mystery metal through the hole later.
Common Mistakes That Restart Your Healing Clock
These seemingly harmless habits can set you back to square one. We see them constantly, and they’re all preventable.
The Daily Life Disasters
- Hair is Your Enemy: Getting hair tangled in your earring backing happens to everyone. But yanking it out causes trauma. Keep hair tied back, especially during sleep. Use sterile gauze as a barrier if you have long hair that won’t cooperate.
- The Phone Problem: Direct contact with your phone screen transfers bacteria straight to your piercing. Either switch sides for calls or use speaker/earbuds until healed.
- Swimming Sins: “But it’s chlorinated” doesn’t matter. Avoid swimming for 8 weeks minimum. Pools, oceans, lakes—they’re all bacterial soup to your healing piercing. One dip can trigger an infection requiring medical attention.
The “Helpful” Habits That Aren’t
- Over-Cleaning Chaos: Following aftercare instructions doesn’t mean going overboard. Cleaning 5 times daily strips natural oils and irritates tissue. Stick to twice daily, period.
- The Antibiotic Ointment Trap: Unless a healthcare professional specifically prescribes it, skip the Neosporin. It clogs the piercing and prevents air circulation needed to ensure proper healing.
- Numbing Cream Nonsense: Some people apply numbing cream when changing jewelry. This masks pain that’s actually warning you something’s wrong. Pain is data—listen to it.
At Loyal 2 The Coil, our safety tips come from seeing thousands of piercings heal (and watching what makes them fail). Casey and Mikaila, our piercing specialists, keep aftercare simple because complicated routines get abandoned. Plus, with locations open 7 days a week, we’re here when those “is this normal?” moments hit.
Ready to Perfect Your New Piercing Journey With Loyal 2 The Coil?
Your earlobe piercing aftercare doesn’t have to be complicated. Follow the timeline, stick to your twice-daily cleaning routine, and resist the urge to switch jewelry too soon. Most healing problems come from doing too much, not too little.
Key takeaways:
- Week 1-3: Clean twice daily with saline solution
- Week 4-6: Keep original jewelry in, despite looking healed
- Week 8+: Safe to switch to hypoallergenic jewelry
- Never use hydrogen peroxide, rubbing alcohol, or antibiotic ointment
- Avoid swimming, touching, and sleeping on fresh piercings
- Watch for warning signs: dark discharge, red streaks, or increasing pain
At Loyal 2 The Coil, proper aftercare starts before you leave our chair. Our piercers provide detailed instructions tailored to your specific piercing, and with two Fort Myers locations open 7 days a week, we’re always here when questions pop up during your healing journey.
FAQs
What not to do after a lobe piercing?
Don’t touch it with dirty hands, swim for 8 weeks, use harsh chemicals like hydrogen peroxide, sleep directly on it, or change jewelry before week 8. Also, avoid sharing earbuds, using hair products near the piercing, or picking at crusties.
How long do earlobe piercings take to heal?
Ear lobes typically heal in 6-8 weeks for the surface, but complete internal healing takes 3-6 months. You can change jewelry around week 8, but the piercing won’t be fully stable until month 3.
What is the 3 2 rule for piercings?
The 3-2 rule isn’t standard piercing terminology. You might mean the “3-month rule” (waiting 3 months between piercings) or cleaning “2 times daily for 3 minutes.” Professional piercers focus on consistent twice-daily cleaning rather than arbitrary number rules.
What is the best aftercare for an ear piercing?
Saline solution (¼ teaspoon sea salt in 8oz water) twice daily is the gold standard. Clean hands first, soak for 5 minutes, gently rotate jewelry while wet, then pat dry with paper towels. That’s it—simple beats complicated every time.
What should I not do after getting my ears pierced?
Skip swimming pools, hot tubs, and lakes. Don’t use makeup or hair products near the piercing. Avoid sleeping on that side, sharing headphones, or touching it constantly. Never remove the initial jewelry before 8 weeks.
What helps ear piercings heal faster?
Consistency with cleaning, proper nutrition (especially zinc), staying hydrated, and getting enough sleep all speed healing. Keep hair tied back, use a travel pillow to avoid pressure, and stick to hypoallergenic jewelry. Most importantly: leave it alone between cleanings.


2 Responses
This is the best information I have read on line. all so helpful. Thank you very much.
You are very welcome!!